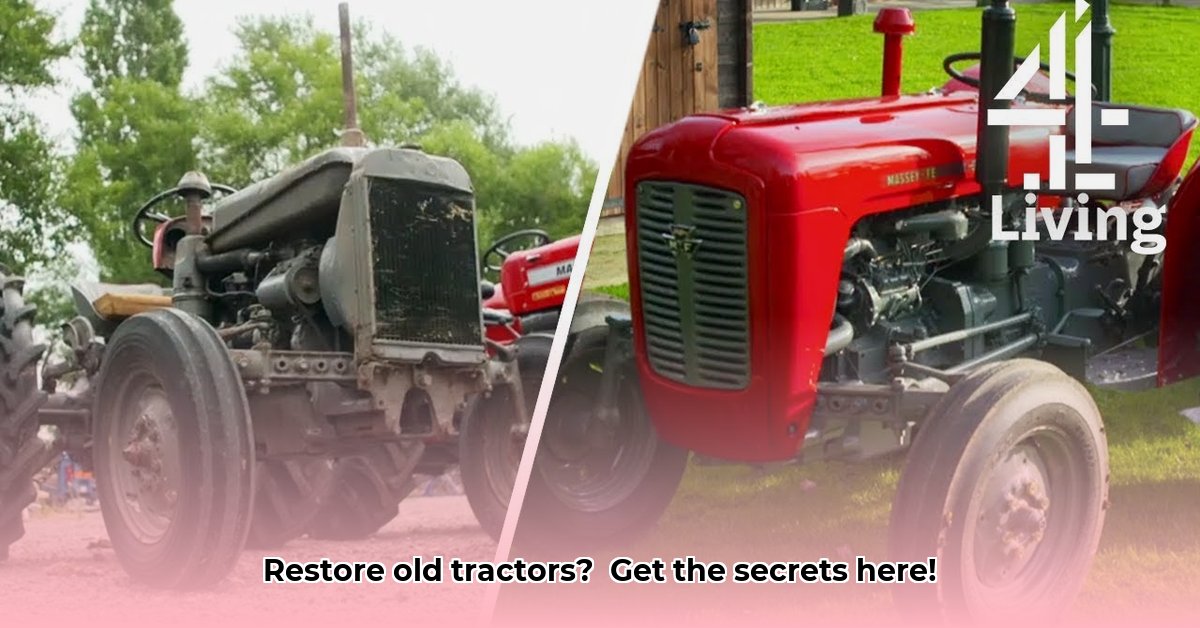
Bringing a vintage tractor back to life is a rewarding, albeit challenging, journey. This guide provides a comprehensive, step-by-step approach for restoring old tractors, designed for both novice and experienced enthusiasts. Remember, meticulous planning and patience are crucial for success. For painting tips, check out this helpful guide: painting techniques.
1. Pre-Restoration Assessment: Planning Your Restoration
Before you even touch a wrench, conduct a thorough assessment of your tractor's condition. This crucial first step lays the foundation for a successful restoration. Think of this as creating a detailed blueprint for your project.
Detailed Inspection: Photograph everything – every component, every piece of rust, every missing part. This visual record will be invaluable throughout the restoration process. Create a comprehensive checklist, documenting the condition of each component (engine, transmission, hydraulics, bodywork, etc.). Note any missing parts. This inventory will help estimate the cost and timeline of your project. Will you aim for a concours-level restoration (museum-quality) or a functional rebuild? This decision dramatically impacts the scope and budget.
Budgeting and Timeline: Based on your assessment and parts sourcing research (see Section 2), create a detailed budget, including parts, tools, supplies, and potential professional assistance. Establish a realistic timeline, factoring in potential delays. Don't forget to account for unexpected issues! A contingency fund is your friend. How many hours can you devote to this per week?
2. Parts Sourcing: Finding the Right Pieces
Locating the necessary parts can be a significant challenge, demanding patience and research. Consider these sourcing strategies:
Original Parts: These are ideal, offering perfect fit and superior quality, but are often rare and expensive. Online forums dedicated to your tractor's make and model, vintage tractor shows, and auctions are good places to start.
Reproduction Parts: While more readily available and usually cheaper, their quality can vary considerably. Thoroughly research suppliers to ensure quality before purchasing.
Salvage Yards: These can be treasure troves of usable parts at significantly lower costs. However, expect to invest time and effort in finding usable components that might require cleaning, repair, or adaptation.
Online Marketplaces: Websites like eBay and specialized tractor parts websites offer a wide selection. However, exercise caution and verify seller reputations to avoid scams.
Parts Sourcing: Weighing Your Options
The table below summarizes the advantages and disadvantages of each sourcing method:
| Sourcing Method | Advantages | Disadvantages |
|---|---|---|
| Original Parts | Perfect fit, superior quality, increased value | Expensive, difficult to locate, potentially long lead times |
| Reproduction Parts | Readily available, generally lower cost | Variable quality, may require adjustments, potential impact on authenticity |
| Salvage Yard Parts | Potentially cost-effective, possibility of finding unique items | Requires careful inspection, may need repairs, condition might be uncertain |
| Online Marketplaces | Wide selection, competitive pricing (sometimes) | Risk of scams, shipping costs, potential for damaged goods |
3. Disassembly and Cleaning: A Meticulous Process
Disassembly requires patience and precision. Treat this as delicate surgery for your tractor. Start by taking numerous photographs at each step, meticulously labeling and numbering every part. Use this as your roadmap for reassembly. Thorough cleaning is essential – rust removal, degreasing, and general cleaning are vital to assessing the condition of each part and preparing it for repair or restoration. Prioritize safety; wear appropriate personal protective equipment (PPE), such as gloves and eye protection.
4. Repair and Restoration: Addressing Each Component
This phase involves a range of tasks, from basic repairs to more complex undertakings. This could include engine rebuilding, welding, sheet metal work, electrical system repair, and more. If you lack expertise in certain areas, don't hesitate to seek professional assistance. Safety remains paramount; ensure you have proper ventilation, use the right tools, and wear PPE at all times.
5. Reassembly and Testing: Bringing Your Tractor Back to Life
Reassembly is the reverse of disassembly, guided by your detailed photographs and notes. Proceed systematically, testing each system (engine, brakes, electrical, hydraulics) individually before moving to the next. This prevents compounding problems and allows for efficient troubleshooting.
6. Finishing Touches: The Final Polishing
The final stage involves the cosmetic details that make your restoration shine. This includes painting (consider using high-quality enamel paints suitable for metal), applying decals, and making any final adjustments. Waxing and polishing provide a protective layer and enhances the aesthetic appeal.
7. Maintenance and Preservation: Ensuring Longevity
Regular maintenance is crucial for preserving your hard work. Develop a comprehensive maintenance schedule specific to your tractor’s make and model. Always consult your owner’s manual, if available. Store your restored tractor in a dry, clean environment to protect it from the elements and prevent future damage.
This detailed guide offers a structured approach to restoring old tractors. Remember that thorough planning, patience, and attention to detail are key to transforming a rusty relic into a gleaming showpiece. The rewards of a successful restoration are immense – a piece of history brought back to life, a testament to your skill, and a source of enduring pride.